These things are so nice. They keep your towels off the floor and where you want them. And, best of all, they're really quick and super easy to make! I'll give you some tips and tricks (along with a pattern, of course) to help you make your very own with towels your already have!
I'm giving an actual pattern here, but this is highly adjustable depending on the size of your towel, button, etc. I made 20 guiding holes in my towel, so my pattern is based off of that number. If you adjust it, try to stick to even numbers, it will make it easier as you adjust along the way. If you have any questions, just let me know!

*Crochet Towel Topper*

- Hand towel
- Medium weight (4) cotton yarn **I used Peaches & Creme brand yarn.
- Size F-5 3.75mm crochet hook (any size hook will do, as long as it fits in the guiding holes you make on your towel. Bigger hooks will result in a bigger/bulkier/taller/wider topper, smaller hooks will do the opposite. You get the gist.)
- Slim yarn needle (make sure it fits through the holes on the button you chose, or you can opt to sew on the button with a regular needle and thread.)
- Button **I used a 1.5 inch wooden button
- Scissors (or something to make guiding holes in your towel.) **I used a rotary cutter fitted with a 45mm perforating blade.
Terms You'll Need to Know:
- sts -- stitches
- ch -- chain stitch
- hdc -- half double crochet
- hdc2tog -- half double crochet two stitches together
- tr -- treble (or triple) crochet
LET'S GET STARTED!
To Begin: Start by folding the towel the way you want it to hang. I folded mine perfectly in half lengthwise. Use your scissors, rotary cutter with perforating blade, or whatever you have to cut holes near the top of your towel (in my case, right by the fold), about 1/4-1/2 of an inch from the top edge. **If you're using scissors, make the holes about 2/3-3/4 of an inch apart. ***If you're using a rotary blade, you'll be crocheting into every other hole that gets cut into the fabric. Meaning, you'll be skipping one hole after each crochet stitch. Hopefully that makes sense.


I used scissors to widen the guiding holes in my towel so I could see them better.

I secured my towel on each end with stitch markers to try to keep the towel from moving too much while I crocheted the first row.
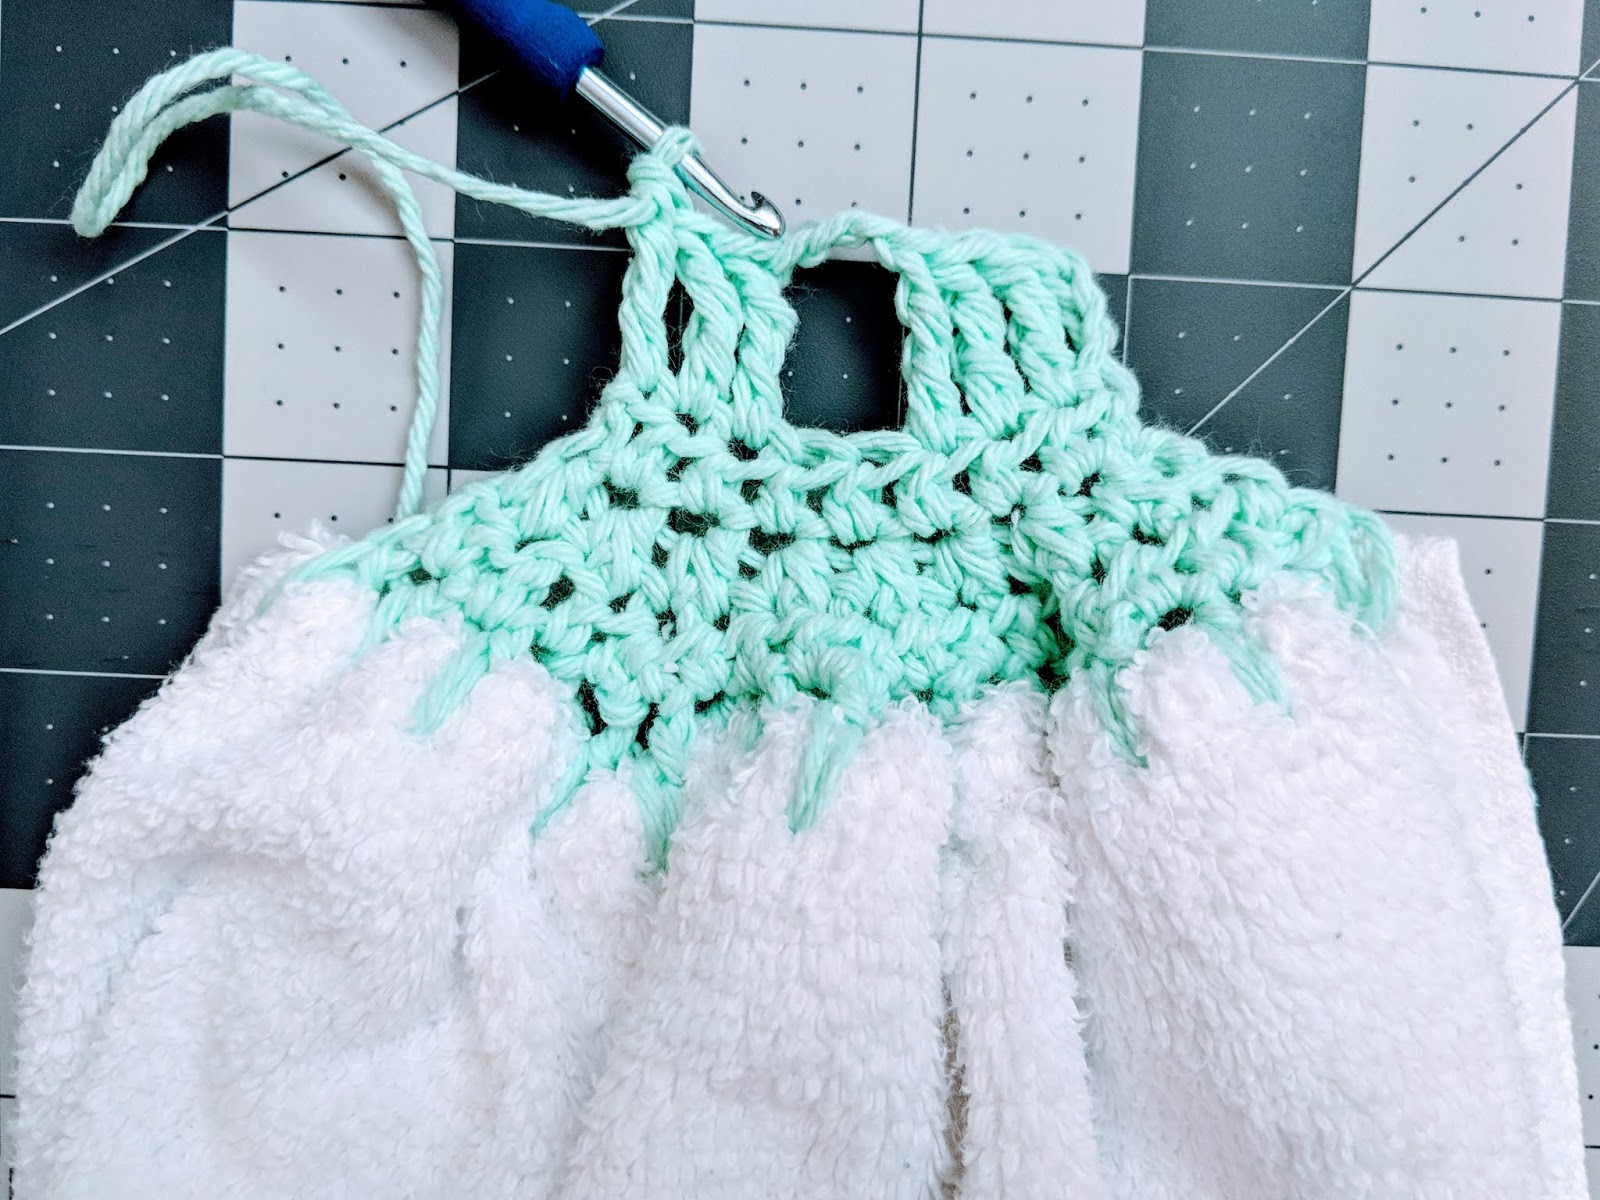
Row 1: Attach your yarn into the first hole on the right using a slip stitch. Ch 1 and hdc into the same hole. hdc into each hole across. Ch 2 and turn. (20 sts) **again, if you're using a rotary cutter with perforating blade, hdc into every other hole.

Row 3: hdc2tog in each pair of stitches across the row. Ch 2 and turn. (8 sts)

Row 5: tr in first 3 stitches. Ch 2 and skip the next 2 stitches. tr in last 3 stitches. Ch 3 and turn. (6 sts & 2 ch sts) **this is your button hole!

Rows 11 & 12: hdc in each stitch across, ch 2 and turn between rows. At the end of row 12, finish off, leaving a long tail for attaching button. If you're using a needle and thread to attach the button, just leave a long enough tail of yarn to weave in the ends.


To hang the towel, have the front facing you and wrap the towel topper over the bar from front top to back bottom and hook button through the hole you created in row 5. Now, revel in how awesome you are.

Feel free to share your creations (and even variations on the pattern!) in the comments below!